Mac Terminal Customization with Oh-My-ZSH and powerlevel10k
A step by step guide to customize your terminal on Mac with Oh-My-ZSH and powerlevel10k.
A step by step guide to customize your terminal on Mac
1. Install Apple’s Developer Tools
Type “terminal” in the spotlight (type ⌘ command+space) and launch it. Run the command below and install Apple’s Command Line Developer Tools:
1
xcode-select --install
2. Install a package manager for Mac
You can either install MacPorts or Homebrew. I prefer MacPorts over homebrew. Download a MacPorts package from its official website for your operating system.
After installation is complete fire up your terminal and run port version. If it is installed successfully it will print the version installed (Version: 2.8.1).
3. Install zsh (Only for macOS older than Catalina)
The default login shell for newer macOS is zsh (started with macOS Catalina). If you are using older version then you can install the latest version of zsh
1
sudo port install zsh
We are done with terminal here , so close it for now.
4. Install iTerm2
iTerm2 is a replacement for Mac Terminal. It has lot of features and supports lot of plugins which makes it fun and easy to use. Download iTerm2 from its official website and install it.
5. Install oh-my-zsh
To install oh-my-zsh, you can either use curl
1
sh -c "$(curl -fsSL https://raw.githubusercontent.com/ohmyzsh/ohmyzsh/master/tools/install.sh)"
or wget
1
sh -c "$(wget https://raw.githubusercontent.com/ohmyzsh/ohmyzsh/master/tools/install.sh -O -)"
Open/relaunch iTerm2. Run ls -l and it should look like

6. Install powerlevel10k
Download powerlevel10k theme
1
git clone --depth=1 https://github.com/romkatv/powerlevel10k.git ${ZSH_CUSTOM:-$HOME/.oh-my-zsh/custom}/themes/powerlevel10k
Open ~/.zshrc file and replace the line
1
ZSH_THEME="robbyrussell"
with
1
ZSH_THEME="powerlevel10k/powerlevel10k"
7. Download and install a Nerd Font
Install a monospaced nerd font of your choice from nerd-fonts. My list of top 5 fonts for terminal and programming:
- JetBrains Mono NF (Regular)
- Fira Code NF (Regular)
- Hack NF (Regular)
- Iosevka NF (Regular)
- Meslo LGS NF (Regular)
You can use any nerd font but for me Meslo works best with powerlevel10k (and is recommended by the developer).
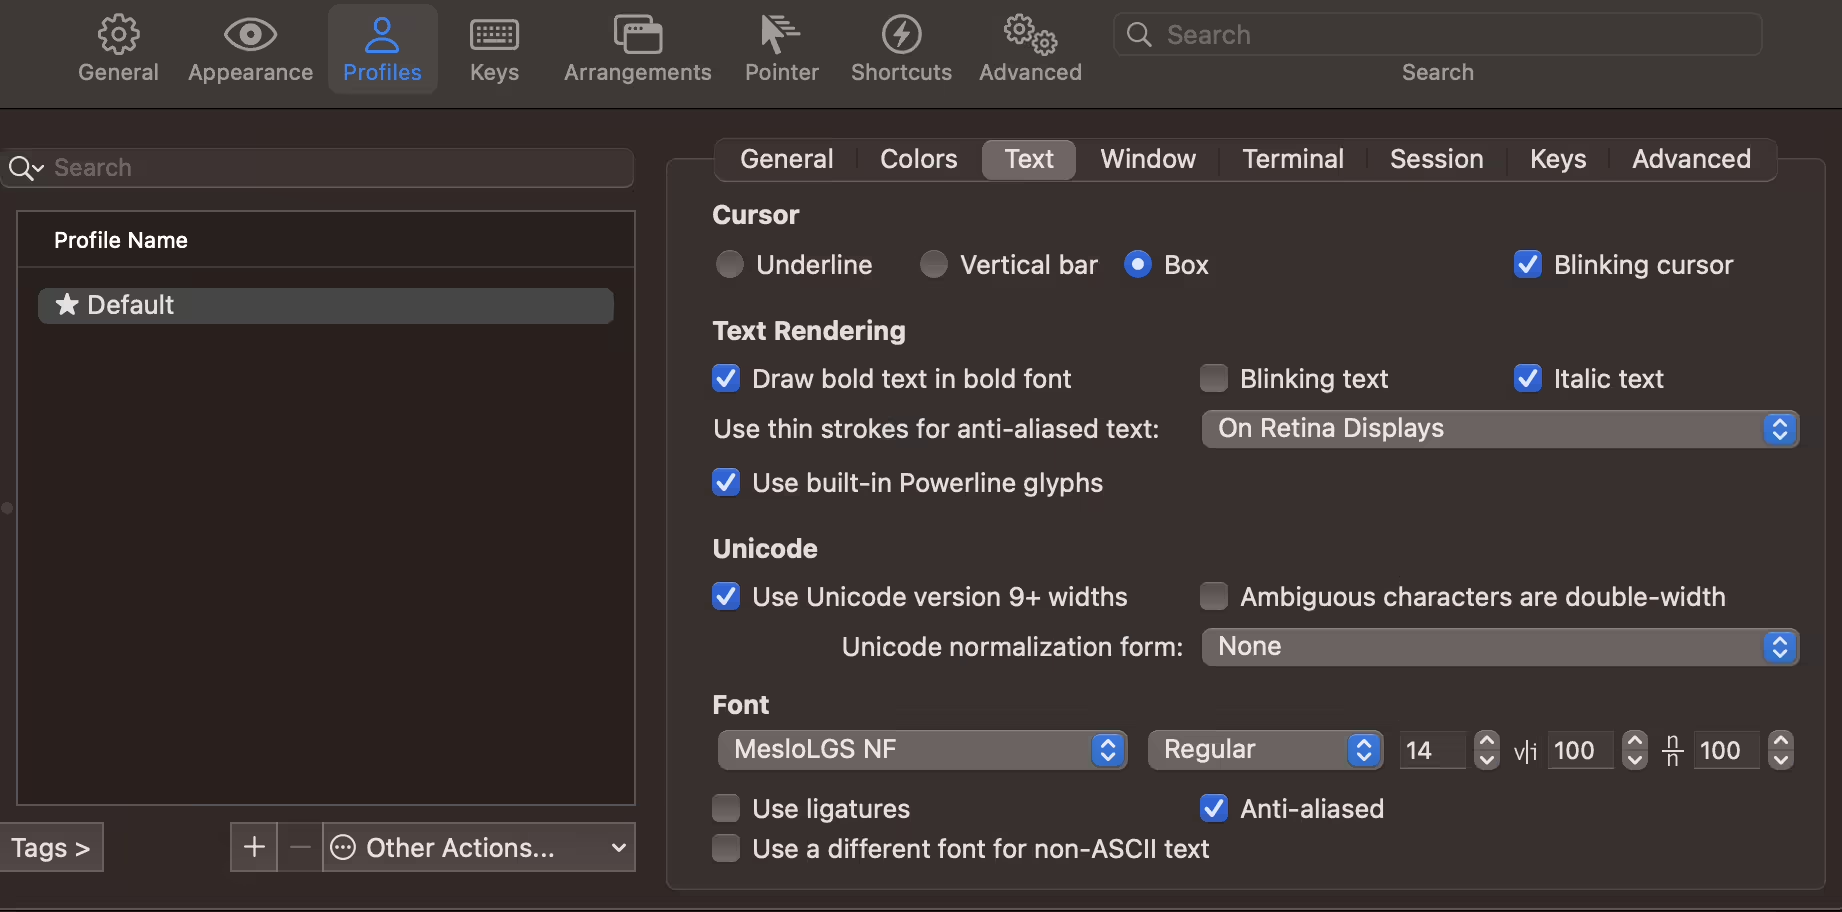
- Open iTerm2
- type ⌘ command+,
- navigate to
Profiles > Texttab - set Font to “MesloLGS Nerd Font”
- set font size to
14
8. Configure powerlevel10k
Run
1
p10k configure
and configure it (try out your own combinations!).
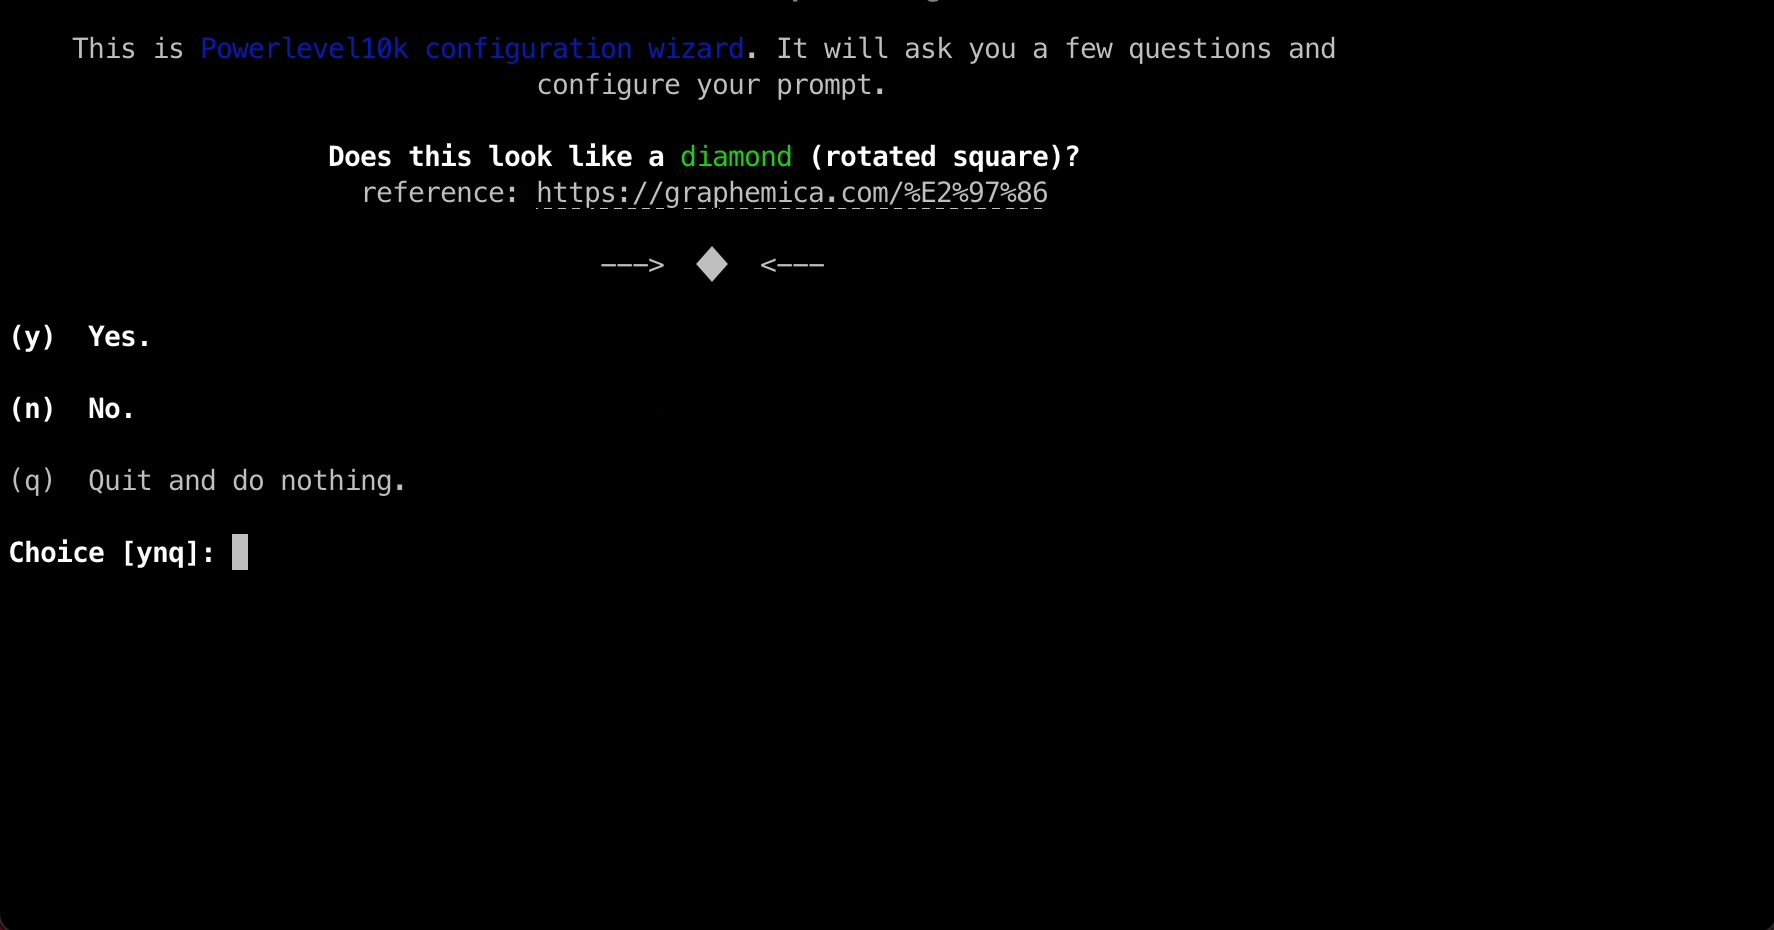
My choices for the configuration:
| Settings | Choice |
|---|---|
| Does this look like a diamond (rotated square)? | y |
| Does this look like a lock? | y |
| Does this look like an upwards arrow? | y |
| Do all these icons fit between the crosses? | y |
| Prompt Style | 3 |
| Character Set | 1 |
| Show current time? | 1 |
| Prompt Separators | 1 |
| Prompt Heads | 1 |
| Prompt Tails | 1 |
| Prompt Height | 1 |
| Prompt Connection | 1 |
| Prompt Frame | 2 |
| Frame Color | 1 |
| Prompt Spacing | 1 |
| Icons | 2 |
| Prompt Flow | 1 |
| Enable Transient Prompt? | n |
| Instant Prompt Mode | 1 |
9. Install color schemes for iTerm2
Download color schemes from iTerm2-color-schemes or use the git repo. Save it to ~/Download folder.
Double click on the downloaded file to unzip it.
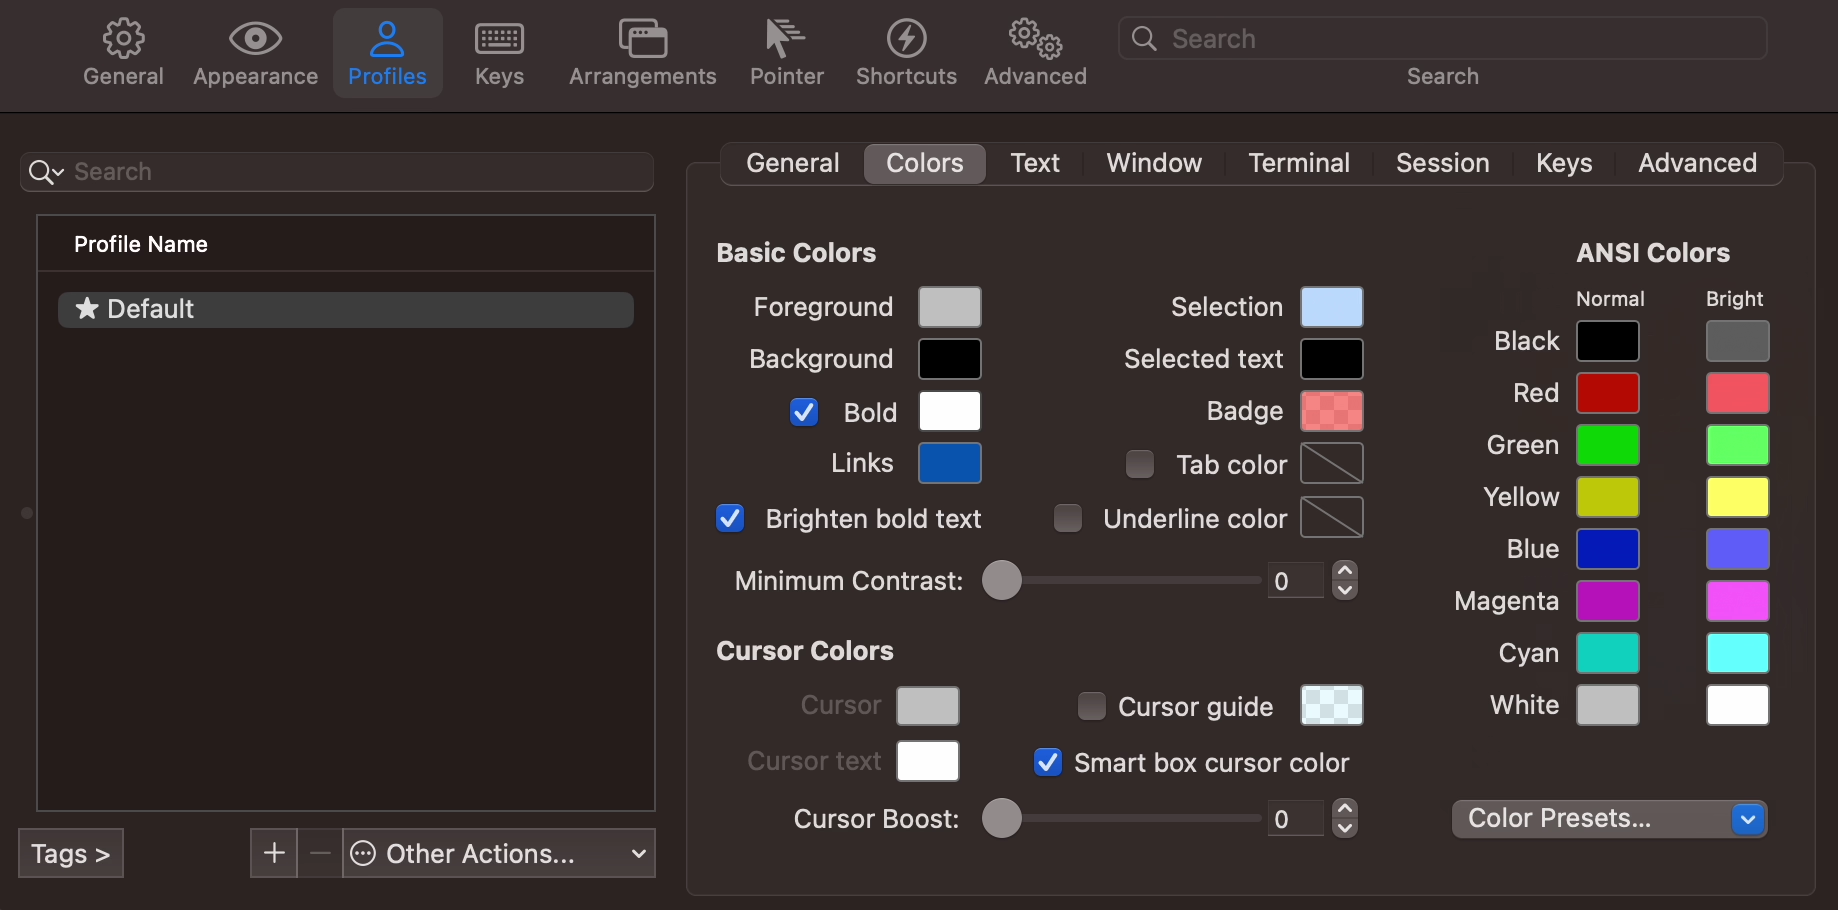
- Open iTerm2
- type ⌘ command+,
- navigate to
Profiles > Colorstab - Click on Color Presets
- Click on Import
- Navigate to the
~/Download/iTerm2-Color-Schemes-master/schemesfolder - Select the profile
MaterialDesignColors.itermcolorsand import (you can select any profile you would like to import, give it a try and see what color scheme you like!)
Now relaunch your iTerm2.
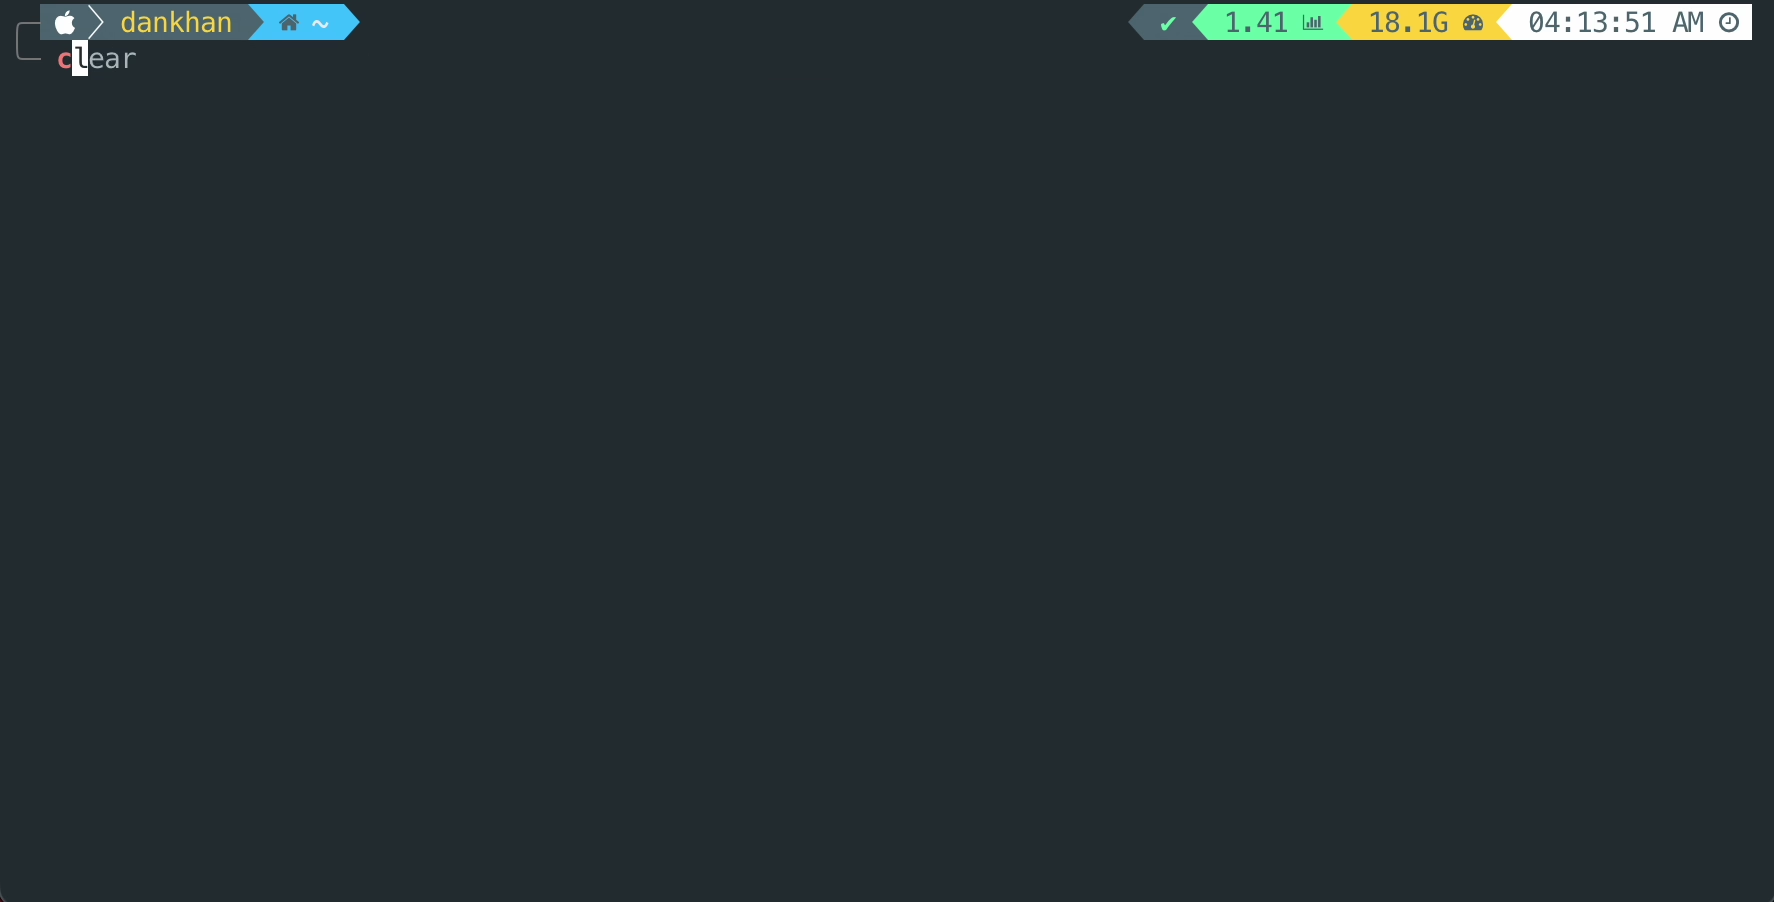
10. More Customization
This step will add context and a green “❯” on left prompt, cpu load and ram on right prompt.
Open ~/.p10k.zsh file.
- Find element
typeset -g POWERLEVEL9K_LEFT_PROMPT_ELEMENTSand addcontextsegment. It should look like this
1
2
3
4
5
6
7
8
9
10
  typeset -g POWERLEVEL9K_LEFT_PROMPT_ELEMENTS=(
    # =========================[ Line #1 ]=========================
    os_icon                 # os identifier
    context                 # user@hostname
    dir                     # current directory
    vcs                     # git status
    # =========================[ Line #2 ]=========================
    newline                 # \n
    # prompt_char           # prompt symbol
  )
Similarly, find
typeset -g POWERLEVEL9K_RIGHT_PROMPT_ELEMENTSand uncommentcpuandloadsegment and commentcontextsegment.Find line
typeset -g POWERLEVEL9K_MULTILINE_LAST_PROMPT_PREFIX='%244F╰─and replace it with
1
typeset -g POWERLEVEL9K_MULTILINE_LAST_PROMPT_PREFIX='%244F╰─%76F❯'
- Change OS identifier color to change to color of apple logo
1
2
typeset -g POWERLEVEL9K_OS_ICON_FOREGROUND=7
typeset -g POWERLEVEL9K_OS_ICON_BACKGROUND=0
- Change default and privileged context from
user@hostnametouser
1
2
3
4
5
6
  # Context format when running with privileges: user@hostname.
  typeset -g POWERLEVEL9K_CONTEXT_ROOT_TEMPLATE='%n'
  # Context format when in SSH without privileges: user@hostname.
  typeset -g POWERLEVEL9K_CONTEXT_{REMOTE,REMOTE_SUDO}_TEMPLATE='%n@%m'
  # Default context format (no privileges, no SSH): user@hostname.
  typeset -g POWERLEVEL9K_CONTEXT_TEMPLATE='%n'
and comment out this line to always show the context
1
typeset -g POWERLEVEL9K_CONTEXT_{DEFAULT,SUDO}_{CONTENT,VISUAL_IDENTIFIER}_EXPANSION=
- Change current directory background color
1
2
3
4
 # Current directory background color.
typeset -g POWERLEVEL9K_DIR_BACKGROUND=4
# Default current directory foreground color.
typeset -g POWERLEVEL9K_DIR_FOREGROUND=0
To see the effect run
1
source ~/.p10k.sh
11. Install plugins for zsh
- Syntax Highlighting Plugin:
1
git clone https://github.com/zsh-users/zsh-syntax-highlighting.git $ZSH_CUSTOM/plugins/zsh-syntax-highlighting
- AutoSuggestion Plugin:
1
git clone https://github.com/zsh-users/zsh-autosuggestions $ZSH_CUSTOM/plugins/zsh-autosuggestions
Open ~/.zshrc file. Find plugins section and install the downloaded plugins
1
2
3
4
5
plugins=(
  git
  zsh-syntax-highlighting
  zsh-autosuggestions
)
12. Customize Mac Terminal
- Navigate to the
~/Download/iTerm2-Color-Schemes-master/terminalfolder (Downloaded in step 9) - Right click on
MaterialDesignColors.terminaland open it with Terminal app - Type ⌘ command+, and go to
Profiles. You will seeMaterialDesignColorsprofile on the left pan. Select it and click Default button at the bottom. - Change font to “MesloLGS Nerd Font”.
- Relaunch the Terminal app.
13. Advanced iTerm2 settings
- Open iTerm2
- Set a hotkey to show/hide all iTerm2 windows. Navigate to
Keys > Hotkeyand type ⌘ command+i. - Remove tab bar: Navigate to
Appearance > Generaland set Theme to minimal. - Unlimited scrollback: Navigate to
Profiles > Terminaland check Unlimited scrollback - Type ⌘ command+return to enter/exit full screen mode